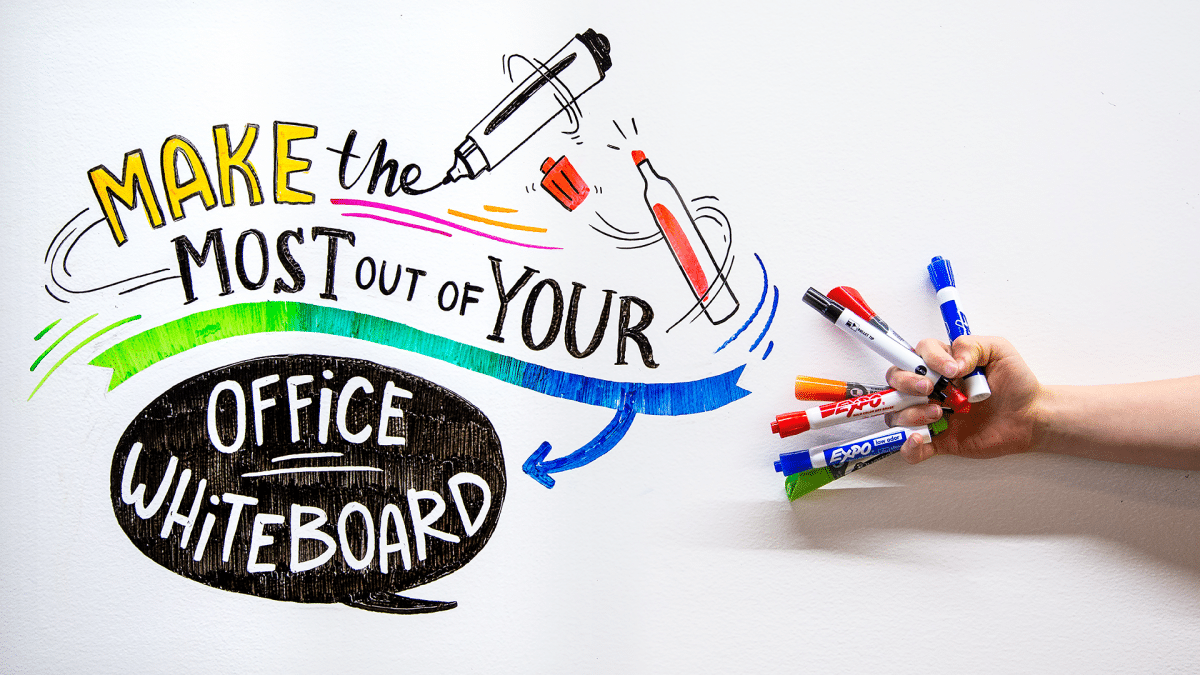
Make The Most Out Of Your Office White Board
We’ve never encountered an office without it–the ubiquitous, magical, sometimes blankly intimidating dry erase office whiteboard. What we HAVE encountered are neglected and under-utilized office whiteboards. Most offices are in dire need of some whiteboard ideas to make their meetings more interesting and productive.
At Ink Factory, we have over 500 square feet of whiteboards–and they’re NEVER blank. Why? Because visualizing on dry erase boards is one of the best ways to capture ideas during team meetings.

As visual note-takers, our team takes whiteboard notes a little more seriously than your average expo-marker wielder. Our largest whiteboard is over 20 feet long and is seldom seen without scribbled notes and in-progress projects. Implementing these office whiteboard ideas will transform your meeting experience.
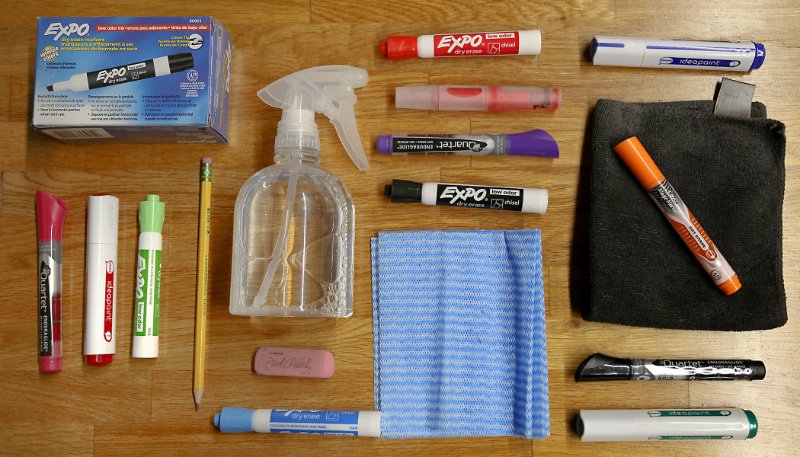
You Need Lots of Dry Erase Markers
We’ve said it before, we’ll say it again: HAVE GOOD TOOLS ON HAND!
Everywhere we go, office whiteboard markers are dried to the bone, rendering them useless. The first step in putting your whiteboard ideas into action is to have a well-stocked selection of fresh markers. There’s nothing worse than attempting to take notes in a fast-paced conversation, only to realize your only marker is out of ink. For a more environmentally-friendly option, we love refillable dry-erase markers. Black should be your most used color, so have double or even triple the number of those than your other colors.
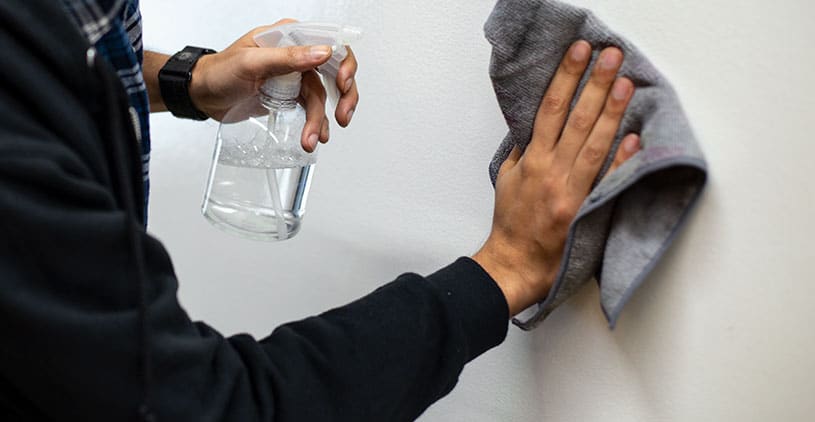
Clean your dry erase board with a spray made from a 50/50 mix of water and alcohol and microfiber wipes. Wait for ink to dry completely before erasing to avoid smudging. Spray the board, let sit for a minute, and then wipe away!
It’s also important to know how to use your tools. Most dry erase markers are chisel tips – that means you can get two line widths out of one marker, depending on the angle you’re holding it. Be conscious of how you’re holding the marker so your line widths stay consistent and look clean.
Lastly, keep your permanent markers far, FAR away from the dry erase board. It’s just too easy for one to get mixed in only to wind up with a permanent recap of Monday’s meeting.
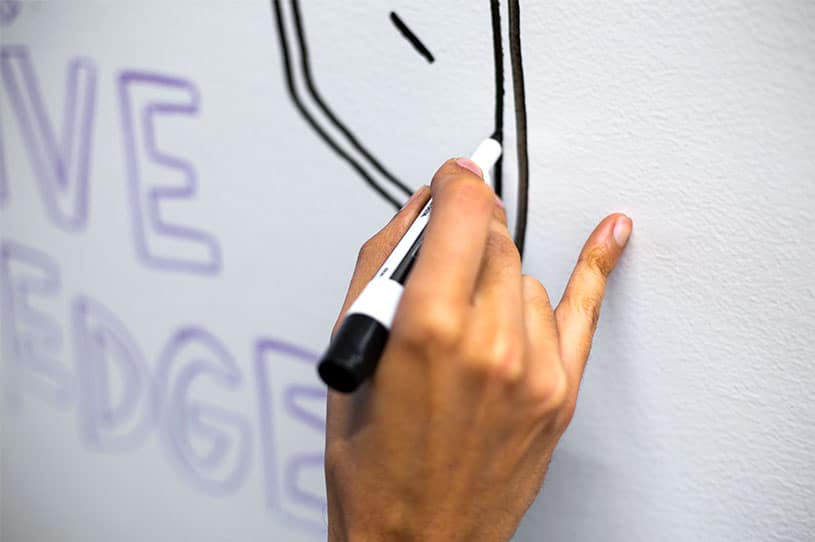
Use your pinky to stabilize your hand as you draw and write.
Write Legibly
What’s the point of writing something down if nobody can read it? Conversations can happen fast during meetings, so naturally, people write quickly to keep up. That can lead to some messy chicken-scratch! Writing neatly and legibly will make the biggest difference in the way you use your office whiteboard. To improve your handwriting, remember:
- Write in all caps. We promise it doesn’t look like you’re yelling: writing in all caps looks much cleaner because each letter takes up a more equal amount of space than writing in lowercase.
- Give yourself time to write slowly by filtering what you hear and only writing down key points
- Write large enough for people in the back to read what you’ve written
- Make more important points bolder – use “block letters” and take the time to color them in so they pop out from the rest of your content
For more details about improving your handwriting, visit our blog post on the topic.
Save Space For Action Items
The point of many meetings is to move forward with actionable items, so make sure you designate a section of your whiteboard for a To-Do List. That way people can remember what needs to get done and be held accountable after your meeting ends. Make the action item separate from the rest of the notes, so you can easily find it when looking at the notes the next day. Bonus points if you color code who does what, or level of importance. We label our tasks with “pop” colors (Lindsay is blue, Ryan is yellow and Dusty is pink!).
Avoid light colors
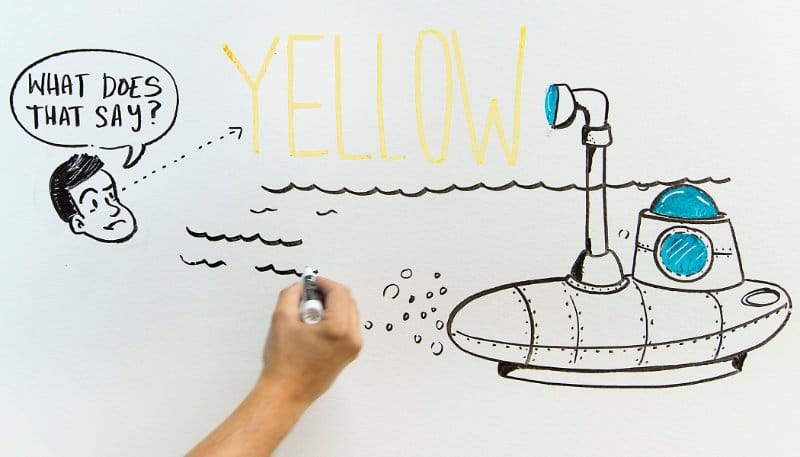
You can see bright yellow when you’re standing six inches away, but colors like yellow, orange, and light green are not easy to read for the rest of the room. Plus, lighter colors are more difficult to photograph if you need to share or archive the content. Try sticking to darker colors, such as black, purple, dark green or brown to write important information. Use lighter colors to embellish. For a slick and clean look, use black for the majority of your notes, and pick one other color to embellish with.
Think negative-ly
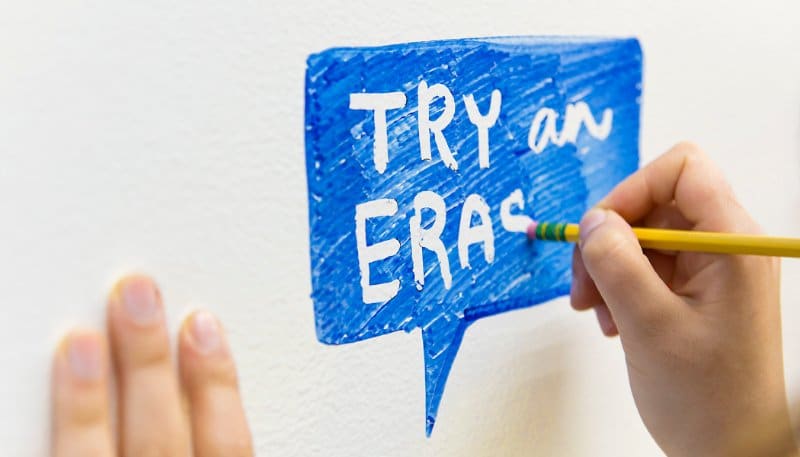
Instead of using ink to draw, do the opposite! Pencil erasers or a standard pink eraser can be great for refining any drawings, or erasing small areas. Sometimes we like to color in a large area with dry erase ink, and then use the eraser on the end of a pencil to draw in white text. Giving more important ideas more “white” or negative space around them also draws the eye towards them first.
Size matters
When writing on a whiteboard, think about who is farthest away in the room. One inch letters tend to be the right size for an average meeting, but you may need to increase the font size if there are people farther than 15 feet away from the whiteboard. Focus the room on what’s important by writing key concepts and ideas larger and bolder. Write supporting details a bit smaller. Perhaps one segment of your meeting will be focused on brainstorming outfit ideas for kittens. Write “Kitten Outfit Ideas” very large, then the team’s ideas around it in a smaller scale. Any supporting and miscellaneous details, like what kind of buttons or fabric you might need for different outfits can be the smallest in scale, since it’s not what you’re immediately focusing on.
Fancy whiteboard tricks
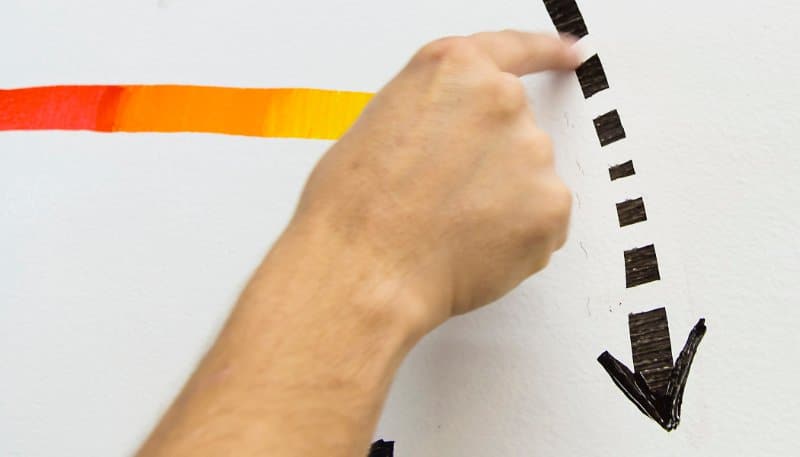
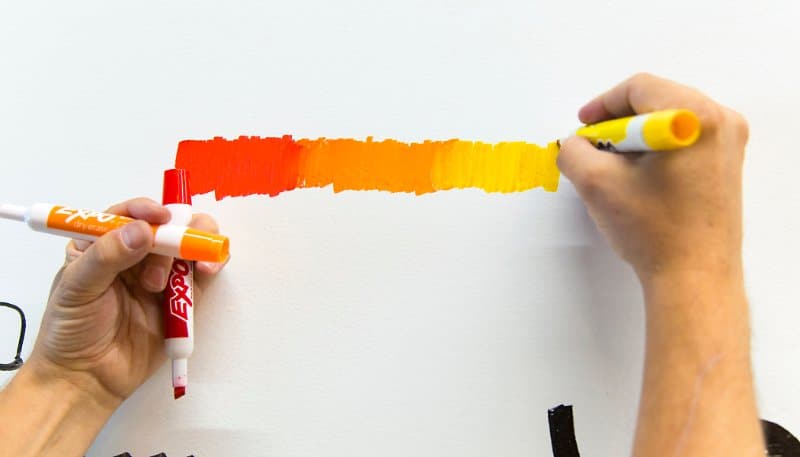
If you want to add big, bold lines and arrows, start by making a super-wide line with your marker. Then, once it is dry, use your finger to clean up the edges. One simple way to emphasize the lines and arrows you create is to repeatedly swipe your finger along them to create a dashed line. Enhance your finger swiped bold lines by creating a fun gradient using a few colors to make the initial layer. If you’re fast with your strokes, you’ll be able to blend the inks and make a smoother transition between the colors. Then, once you have your gradient set, take your finger and clean up those edges. Your office mates will be impressed!
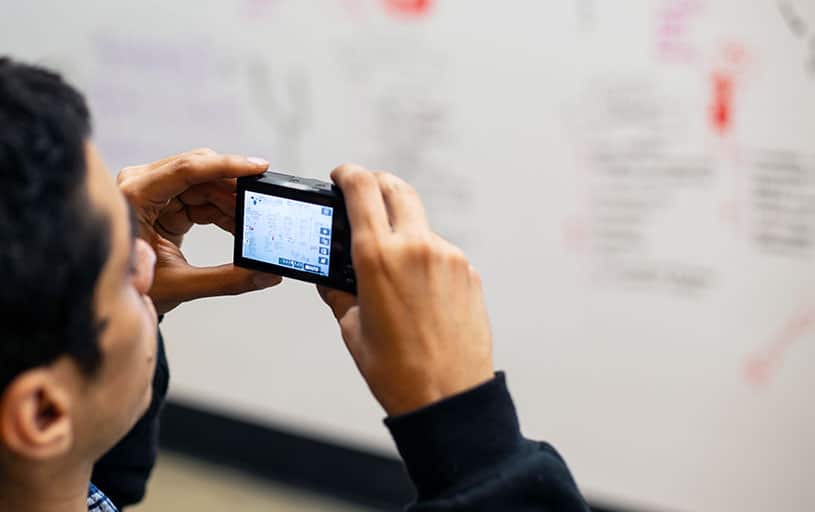
Since whiteboard turnover is so fast at Ink Factory, we’ll take a quick snapshot so we don’t lose any of our work. Taking a photo will also allow you to reference the notes later, and even print them out if you have a follow-up meeting. The camera on your phone should be adequate and makes sharing the whiteboard ideas easy.
This post is part of Ink Factory’s Think Link Ink Series! Interested in learning more about how to become a visual note-taker? Check out the entire list of posts in the series here.
Want to get in-person practice fine-tuning your whiteboarding skills? We teach visual note-taking workshops that will leave you with the skills to blow your coworker’s minds, tell visual stories, and so much more.
Wait, there’s more! Subscribe to the Ink Factory newsletter to learn the latest on visual trends.
With a community of 4,000+ visual thinkers, you’ll be in good company. Join us!